Helen's Mulberry Lane Farm Journal
Rachel's Wedding Day, December 20, 2012
Part 2
I realized that I never finished Rachel's wedding story!
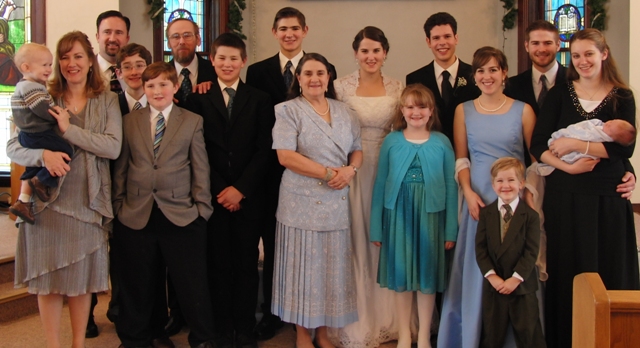
Here are some photos that were taken just before the wedding took place. (The Pastor requested that no photos be allowed during the actual service.)
Christmas weddings are so special!

|
Sisters share childhood memories
and grownup dreams.

|
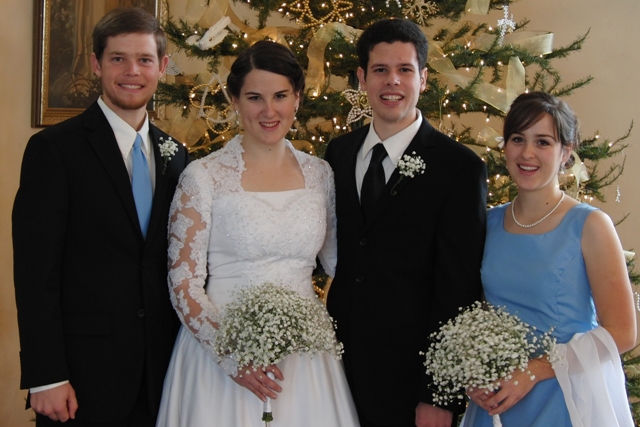
From left to right: Joey's brother Josiah, Rachel, Joey and our Rebekah.
|
A very happy day for both sets of parents!

|
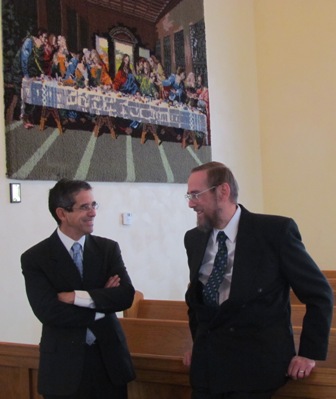
Two godly men
(Joey's Dad and Rachel's Dad)
share some special moments
before the wedding.
|
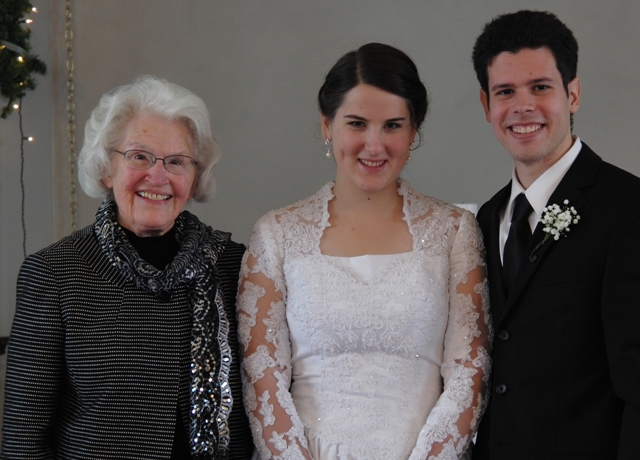
We were so thrilled that my dear friend Eldora was able to make it!
|
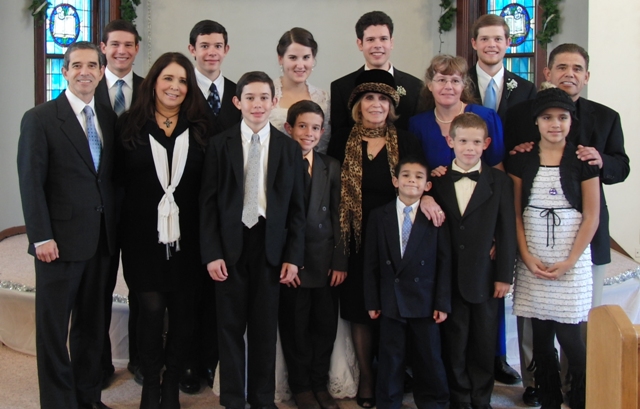
What a wonderful world it would be if there were more families like this!
|
My own dear ones. I am RICH!
|
My precious jewel,
Rachel Eloise (Aardsma) Contreras.

|
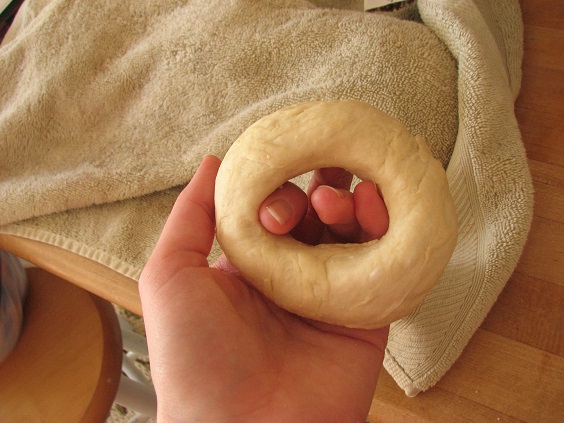
How To Make Amazing Bagels
by my daughter-in-law, Esther Aardsma
Some Basic Tips Before You Start
Use high gluten flour. This is not a place for mere bread flour. Or 100% whole wheat.
The dough should be quite firm, around 50 to 55% hydration.
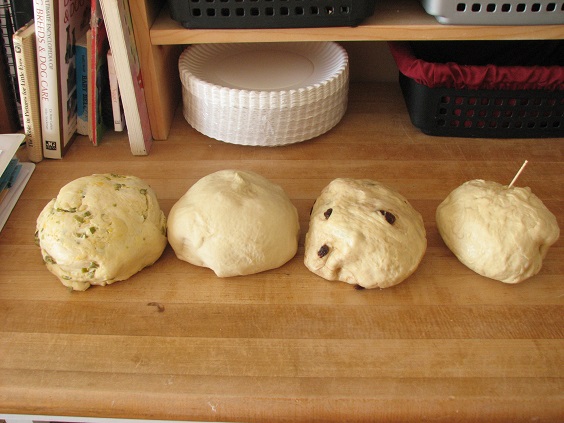
Bagel dough should never be puffy. If the dough is puffy, you're making doughnuts, not bagels.
Bagels need to be retarded overnight to develop their flavor. When you don't retard, you REALLY lose a lot with bagels!
Don't boil so long. 1 minute per side is enough.
Don't let them sit so long before baking. A soft puffy dough, a long boil, and a long rest all but gaurantee a puffy wrinkled up bagel.
You should put some malt extract in the boiling water. Not a lot, just a few tablespoons. It gives the bagels their sheen,
The bagels should be baked on tiles, with no more between the tiles and the bagels than some bakers parchment or silpat, and at about 500F for the whole bake. About 15 minutes, if memory serves.
Also, don't be afraid to let the bagels brown. The one on my web page is really a bit underdone, however that made it more accessible to most of my web audience.
I got these tips from The Fresh Loaf.
Recipes
With these tips in mind, I used two recipes.
I used New York Bagels in the bread machine and did New York Style Bagel Recipe by hand at the same time.
I liked the hand-kneaded dough better as it stayed firmer, but I couldn't tell you if it was because of the recipe or because the bread machine's rising temperature was warmer. I also had the issue of the surface of the bread machine dough drying out, but I'm pretty sure that could be solved by a quick pass with the nonstick spray right after the kneading cycle completed. You could also put a plastic bag over the dough and close the lid on the machine.
I replaced 2 Tbsp of flour with gluten. (Mom sells gluten in her eStore at left.)
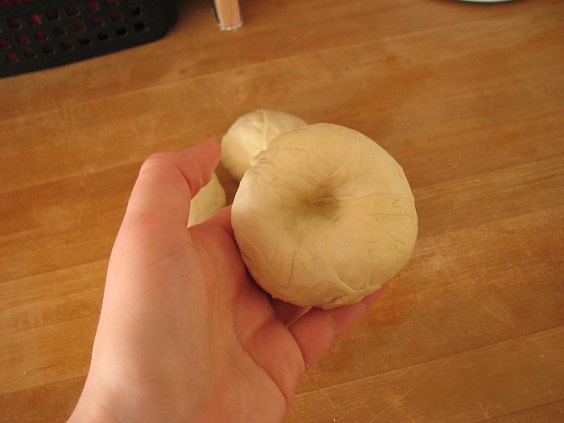
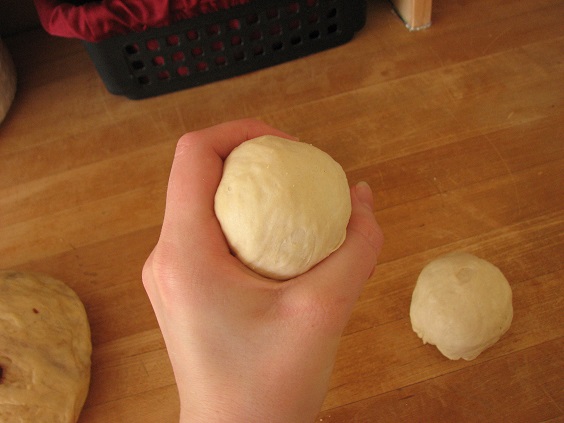
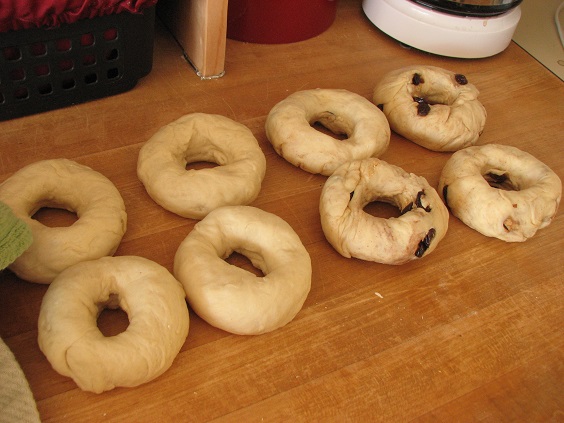
I did not retard overnight. I just did my normal rise with a slightly warm oven for the hand-kneaded recipe for an hour or so. I did not really let them rise after shaping them, I just let them rest under a moist towel while I finished shaping the rest of them. I started my pot of water boiling before shaping (2 qts water with 2 T sugar; I didn't have any malt but it didn't seem to make any difference). By the time I was done, the first ones were ready to be put in.
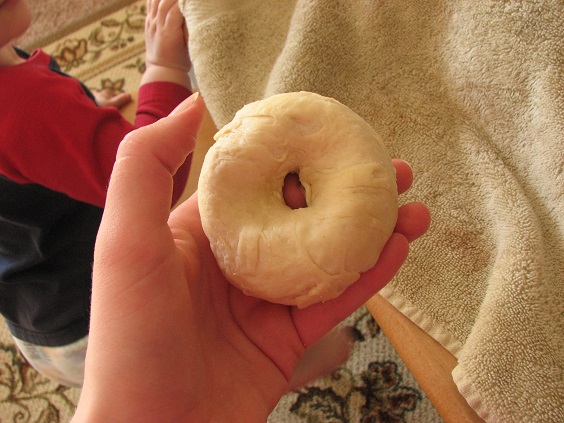
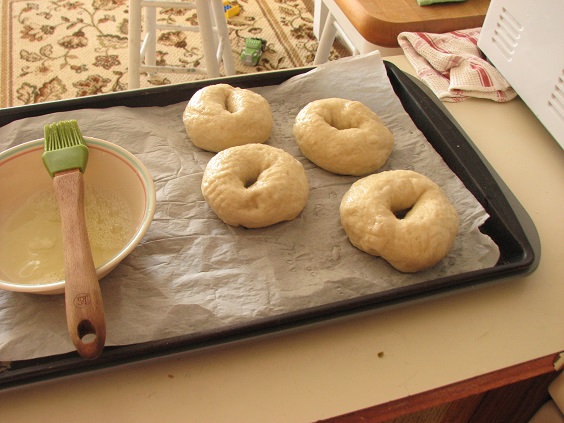
I boiled about 3 or 4 at a time for about a minute a side. I removed them to a baking sheet lined with parchment paper, popped in the next batch, then applied an egg white wash (1 egg white beaten with 2 tsp water) with a pastry brush before baking. This would be the time to add any toppings. I did try several with dried minced onion, and they were pretty good, but I had to pull them out of the oven a little early because the onion was starting to burn. (We learned that you can't store minced-onion-topped bagels with the plain bagels as the plain absorb the onion flavor.)
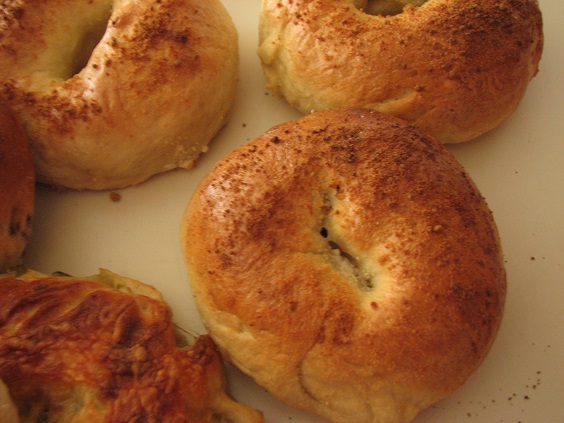
I baked them at about 450 F on my pizza stone (preheated with the oven) for about 15 minutes, with a piece of parchment paper under the bagels. I can't recommend this though, as my pizza stone cracked in the process. I'm not sure if it was due to baking of the bagels or whether it was due to age/abuse---I still have to do some research on that.
I'll never buy store bagels again!
My husband, Matt, liked them so much that he couldn't stop eating them. Best compliment a wife can get!
Blessings,
Helen
|